Creating a Viking knife sheath is an art that combines functionality with historical craftsmanship. This guide will walk you through the steps needed to craft a traditional Viking knife sheath, ensuring your knife is both well-protected and beautifully presented.
Summary
ToggleUnderstanding the Viking Knife Sheath
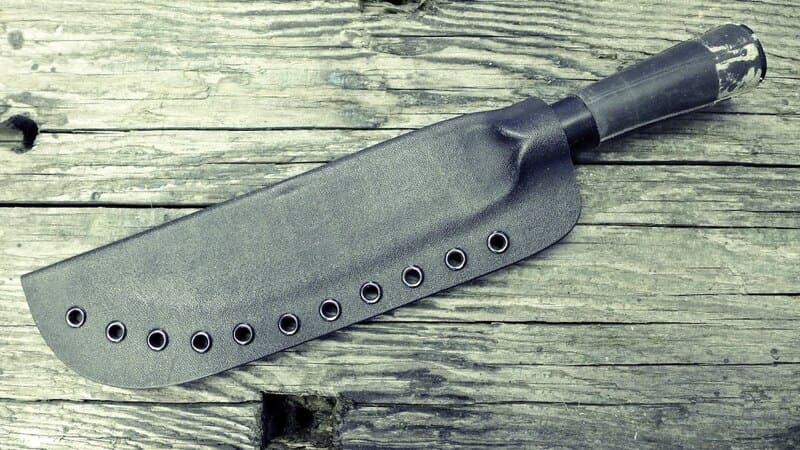
A Viking knife sheath, or “saya,” was not only designed to protect the blade but also to complement the aesthetic and practical needs of the Viking warrior. These sheaths were often made from leather or wood, decorated with intricate designs that reflected the owner’s status and skills.
Materials You’ll Need
- Leather: The most traditional material for a Viking knife sheath. It offers durability and a classic look.
- Wood: For a wooden sheath, you’ll need a solid piece of wood such as oak or walnut.
- Tools: Sharp knife, leatherworking tools (like a bone folder, edge tools, and stitching supplies), and wood carving tools if using wood.
- Rivet and Thread: To secure the leather and add decorative elements.
Step-by-Step Guide to Making a Leather Viking Knife Sheath
1. Measure and Cut the Leather
- Measure Your Knife: Determine the dimensions of your knife blade, including length, width, and thickness.
- Cut the Leather: Use a sharp knife to cut a piece of leather slightly larger than your knife. This extra space will allow for stitching and adjustments.
2. Prepare the Leather
- Soak the Leather: To make it more pliable, soak the leather in water for about 30 minutes. This will make it easier to mold.
- Mold the Leather: Shape the leather around the knife blade to fit snugly. Use clamps to hold it in place while it dries.
3. Cut and Shape the Sheath
- Cut the Leather: Trim the leather to the desired shape. Remember to leave extra for the stitching and any decorative elements you want to add.
- Shape the Sheath: Use leatherworking tools to refine the shape. Ensure the sheath fits the knife perfectly and is comfortable to draw and sheath.
4. Stitch the Sheath
- Prepare the Thread: Use a strong thread or cord for stitching. Waxed thread is ideal for durability.
- Stitch the Edges: Use a saddle stitch or other strong stitch to sew the edges of the sheath together. Make sure the stitching is even and tight to ensure the sheath is secure.
5. Add Rivets and Decorations
- Attach Rivets: For added security and decoration, use rivets to fasten different parts of the sheath.
- Decorate: Add Viking-inspired designs or runes to personalize your sheath. You can carve or emboss designs into the leather or use metal embellishments.
6. Finish the Sheath
- Condition the Leather: Apply leather conditioner to keep the sheath supple and prevent cracking.
- Polish and Protect: Use a leather polish to give the sheath a finished look and protect it from the elements.
Step-by-Step Guide to Making a Wooden Viking Knife Sheath
1. Select and Prepare the Wood
- Choose Your Wood: Opt for a durable wood like oak or walnut.
- Cut the Wood: Cut the wood to the approximate size of your knife blade. Make sure to leave extra wood for shaping.
2. Shape the Wood
- Carve the Wood: Use wood carving tools to shape the sheath. Carve out a cavity that fits the blade snugly.
- Smooth the Edges: Sand the wood to smooth any rough edges and ensure a comfortable grip.
3. Assemble and Secure
- Attach the Parts: If your sheath consists of multiple parts, use wood glue or small nails to assemble them.
- Add Rivets and Decorations: Just like with leather, add rivets and any decorative carvings to personalize your wooden sheath.
4. Finish the Sheath
- Seal the Wood: Apply a wood sealant to protect the sheath from moisture and wear.
- Polish the Wood: Use a wood polish to enhance the grain and give the sheath a finished look.
Tips for a Successful Viking Knife Sheath
- Practice First: If you’re new to leatherworking or woodcrafting, practice on a smaller project first.
- Be Patient: Take your time with each step to ensure precision and quality.
- Personalize: Add personal touches to make your sheath unique and reflective of Viking craftsmanship.
Conclusion
Crafting a Viking knife sheath is a rewarding project that combines historical techniques with modern craftsmanship. Whether you choose leather or wood, following these steps will help you create a sheath that is both functional and aesthetically pleasing. Embrace the challenge and enjoy the process of making a piece of Viking heritage.